|
First, a little background
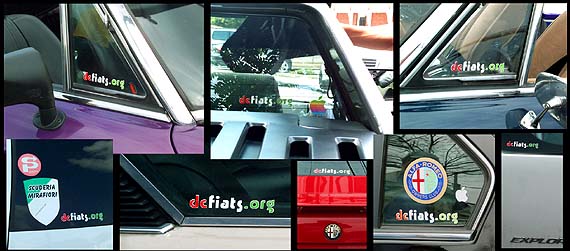
Our dcfiats.org text logos are not water-slide decals, so use no water. They are like a self-adhesive sticker,
but a little more sophisticated. These are actually professional sign grade, computer cut, self-adhesive vinyl letters.
As you receive them, the vinyl letters are sandwiched between a carrier/transfer paper and a peal-away paper backing.
The base vinyl and process colors are UV resistant for exterior signage use and have a "high performance" guarantee for
something like 5 years, but usually last way longer. Unlike the cheapy decals/stickers other car clubs produce, ours won't
fade in one Summer's worth of driving and will probably outlast the car its on.
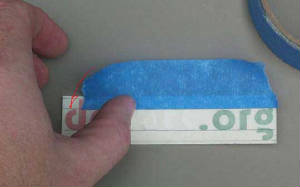
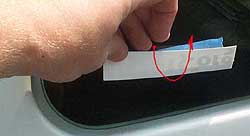
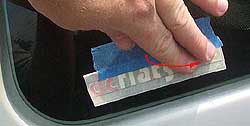
Put a small strip of tape along the top edge of the graphic's top sheet for temporary placement on the glass - the pencil
lines on the carrier paper will help with this.
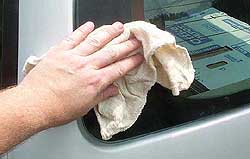
Clean the glass or painted surface with Windex where you're going apply the vinyl graphic.
Temporarily tape the vinyl graphic in the desired location on the glass.
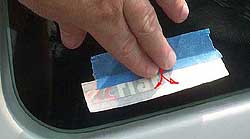
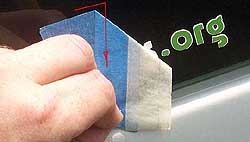
Using the tape as sort of a hinge, flip the graphic up off the glass.

Carefully peal away the backing paper to expose the adhesive face of the vinyl graphic.
Past this point, there is no going back. Once placed against the glass, the graphic cannot
be repositioned. It can only be removed with a razor blade or a vinyl adhesive solvent.
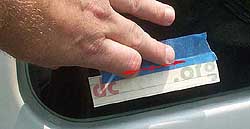
Carefully swing the graphic back down, allowing it only to touch the glass at the center.
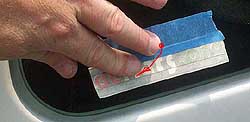
Working from the center out to avoid capturing any air bubbles, gently smooth it down with your fingers.
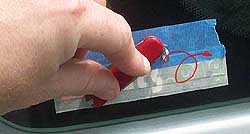
Once the carrier and the vinyl graphic are in place against the glass with no air bubbles, use a hard plastic item such
as a magic marker body or a the side of a pen knife to burnish over top of the graphic.
Then slowly peal back the transfer paper at a sharp angle, policing for edges or pieces of the graphic which did not stick
properly to the glass.

That should be about it. Sounds more complicated than it is.
Any questions or problems feel free to E-MAIL ME.
John O.
Created 12 Jan 2005
|